预备知识点
富文本编辑器是可以将图片、链接、字体样式等添加到可编辑的区域内,这就要做为富文本。接下来介绍一下我做的简易的富文本需要的核心属性:contenteditable
contenteditable 应用于标签元素上默认是false,当为true的时候就把该元素的内容变成可以自由编辑的。
开始制作
上面介绍了contenteditable属性,下面直接开始看看效果:
1
2
3
4
5
6
7
8
9
10
11
12
| //css
.textarea {
margin-bottom: 12px;
padding: 10px;
width: 500px;
height: 100px;
border: 1px solid #ccc;
overflow-y: auto;
}
// html
<div contenteditable="true" autofocus class="textarea"></div>
|
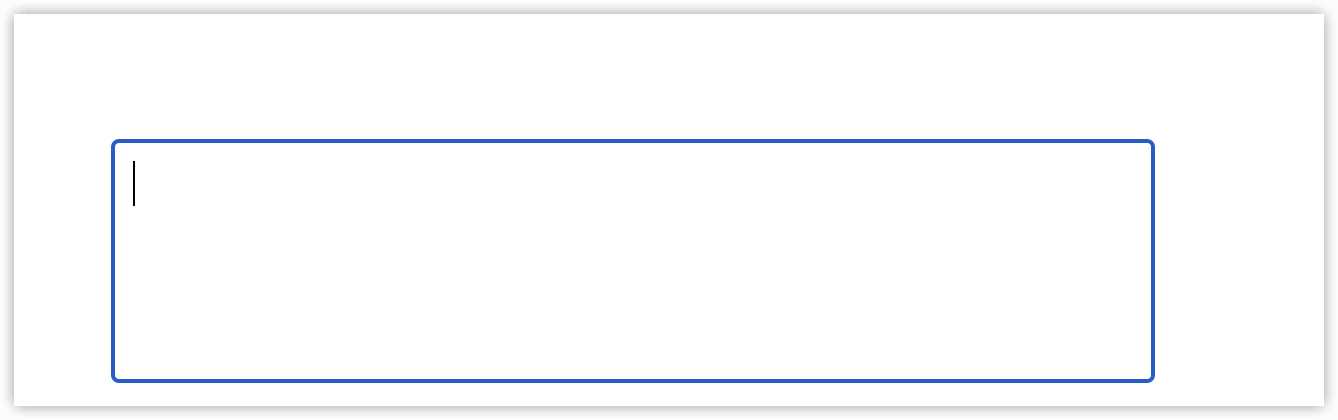
运行结果:
![0.png]()
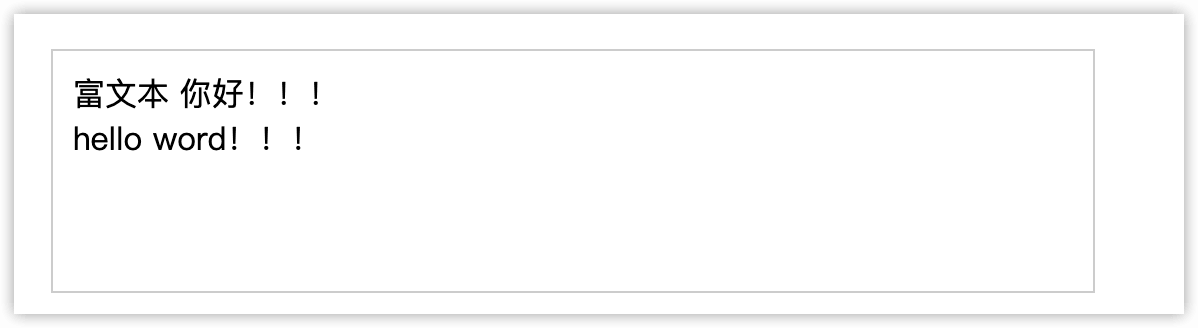
可以看到该div元素就可以自由编辑了。当自由编辑的时候,本质上是在该div元素中自动将内容转换成子元素。下面看一下具体情况:
![1.png]()
hello word!!!这句话因为换行了,所以自动变成了div标签了。
![2.png]()
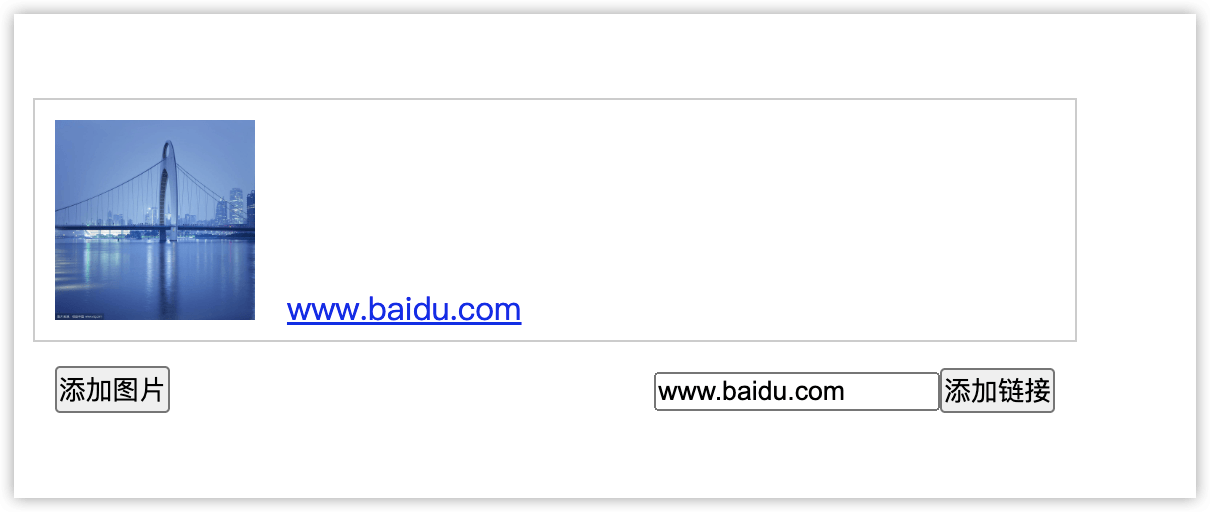
这原理知道后,就可以开始上手制作简易的富文本了。这样一来,添加图片和添加链接的功能实现起来就方便了许多,直接将图片和链接转换成dom元素插入到改div即可。
1
2
3
4
5
6
7
8
9
10
11
12
13
14
15
16
17
18
19
20
21
22
23
| // html
<div contenteditable="true" autofocus class="textarea"></div>
<button onclick="addImg()">添加图片</button>
<input type="text" class="linkInput" /><button onclick="addLink()">添加链接</button>
//js
const textareaDom = document.querySelector('.textarea');
// 将图片直接插入div元素中
const addImg = () => {
const img = document.createElement('img');
img.src = 'https://t7.baidu.com/it/u=1595072465,3644073269&fm=193&f=GIF'
img.width = 100
img.height = 100
textareaDom.appendChild(img)
}
// 添加链接
const addLink = () => {
const link = linkInput.value;
const linkDom = document.createElement('a')
linkDom.href = link;
linkDom.innerText = link
textareaDom.appendChild(linkDom)
}
|
运行结果:
![3.png]()
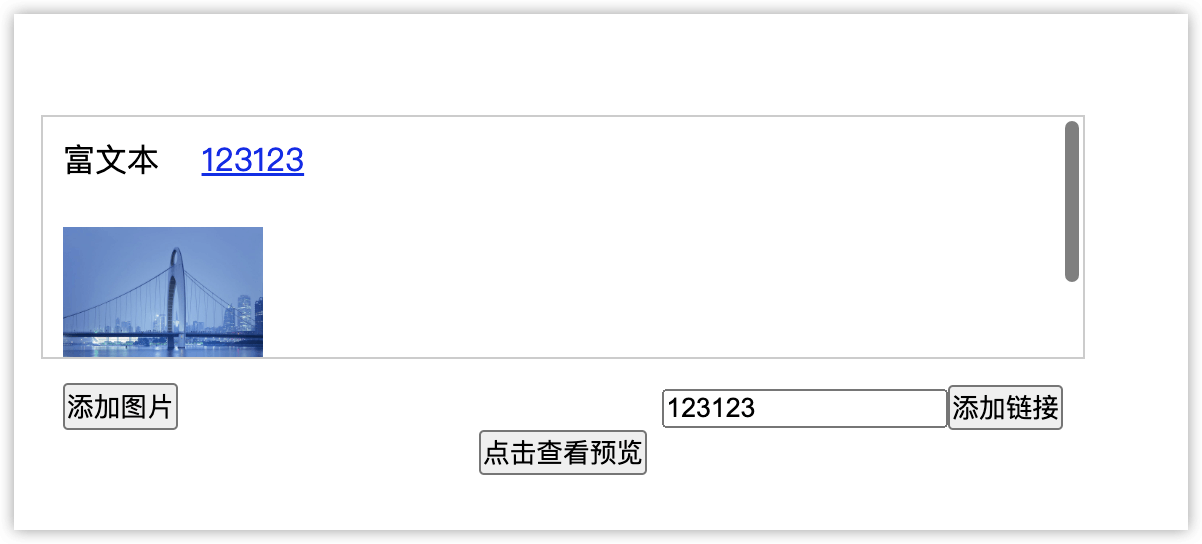
怎么获取到富文本的内容?
使用 innerHTML 就可以获取到了。下面做个用该方法做个预览的效果:
1
2
3
4
5
6
7
8
9
10
11
12
13
14
15
16
17
18
19
20
21
22
23
24
25
26
27
28
29
30
31
32
33
34
35
36
37
38
39
40
41
42
43
44
45
46
47
48
49
50
51
52
53
54
55
56
57
58
59
60
61
62
63
64
65
66
67
68
69
70
71
72
73
74
75
76
77
78
79
80
81
82
83
84
85
86
87
88
89
90
91
92
93
94
95
96
97
98
99
100
101
102
103
104
105
106
107
108
109
110
111
112
113
114
115
116
117
118
119
120
121
122
123
124
125
126
127
128
| <head>
<title>test</title>
<style>
* {
padding: 0;
margin: 0;
}
html,
body {
height: 100%;
}
.textareaBox {
display: flex;
width: 100%;
height: 100%;
flex-direction: column;
justify-content: center;
align-items: center;
}
.textarea {
margin-bottom: 12px;
padding: 10px;
width: 500px;
height: 100px;
border: 1px solid #ccc;
overflow-y: auto;
}
.utils {
display: flex;
justify-content: space-between;
width: 500px;
}
.previewBox {
display: none;
position: fixed;
left: 0;
top: 0;
width: 100vw;
height: 100vh;
background-color: rgba(0, 0, 0, 0.5);
z-index: 0;
}
.previewMain {
position: absolute;
left: 50%;
top: 50%;
z-index: 1;
padding: 12px;
width: 80%;
height: 60%;
transform: translate(-50%, -50%);
background-color: #fff;
}
.closeBtn {
color: #000;
position: absolute;
right: 20px;
top: 20px;
cursor: pointer;
}
</style>
</head>
<body>
<div class="textareaBox">
<div contenteditable="true" autofocus class="textarea" oninput="inputHandle()">
</div>
<div class="utils">
<button onclick="addImg()">添加图片</button>
<div>
<input type="text" class="linkInput" /><button onclick="addLink()">添加链接</button>
</div>
</div>
<button onclick="previewHandle()">点击查看预览</button>
</div>
<div class="previewBox">
<div class="previewMain">
<h1>预览:</h1>
<div id="editBox"></div>
<div class="closeBtn" onclick="closeMask()">X</div>
</div>
</div>
<script>
const textareaDom = document.querySelector('.textarea');
const linkInput = document.querySelector('.linkInput');
const editBox = document.querySelector('#editBox');
const previewBox = document.querySelector('.previewBox');
const inputHandle = () => {
editBox.innerHTML = textareaDom.innerHTML;
}
const addImg = () => {
const img = document.createElement('img');
img.src = 'https://t7.baidu.com/it/u=1595072465,3644073269&fm=193&f=GIF'
img.width = 100
img.height = 100
textareaDom.appendChild(img)
inputHandle()
}
const addLink = () => {
console.log(linkInput.value)
const link = linkInput.value;
const linkDom = document.createElement('a')
linkDom.href = link;
linkDom.innerText = link
textareaDom.appendChild(linkDom)
inputHandle()
}
const previewHandle = () => {
previewBox.style.display = 'block';
}
const closeMask = () => {
previewBox.style.display = 'none';
}
</script>
</body>
|
运行结果:
![4.png]()
![5.png]()